
How to fit Linoleum Flooring: Step-by-Step Guide
Learning how to fit lino flooring starts with choosing the correct material, preparing a smooth subfloor, measuring the room, and following the flooring manufacturer’s installation instructions. Most traditional sheet linoleum requires a compatible adhesive, careful cutting, and rolling to create a secure bond.
Although linoleum is often confused with vinyl flooring, the two materials are different. Genuine linoleum generally contains ingredients such as linseed oil, wood flour, resins, and a backing material. Vinyl flooring, meanwhile, uses synthetic materials and can have different installation requirements.
For a successful installation, the condition of the subfloor matters just as much as the flooring itself. Additionally, room layout, moisture conditions, adhesive selection, and seam placement can affect the finished result.
This guide explains how to lay linoleum flooring on concrete and wood subfloors, how to fit it around corners and doorways, and how to avoid common installation mistakes.
What Is Linoleum Flooring?
Linoleum is a resilient flooring material made using ingredients that typically include linseed oil, wood flour, mineral fillers, resins, and a fabric backing.
It is available in different colors, patterns, and product formats. As a result, homeowners can use it in kitchens, hallways, living spaces, and other suitable indoor areas.
However, linoleum and vinyl should not be treated as interchangeable products.
Linoleum vs. Vinyl Flooring
| Feature | Linoleum Flooring | Vinyl Flooring |
|---|---|---|
| Main composition | Primarily natural-based ingredients | Synthetic materials, commonly PVC |
| Common formats | Sheets, tiles, and selected click products | Sheets, planks, and tiles |
| Installation | Often glue-down; some floating systems | Glue-down, loose-lay, or click systems |
| Water resistance | Product- and installation-dependent | Product-dependent; many waterproof options |
| Maintenance | Follow linoleum-specific care requirements | Follow vinyl-specific care requirements |
| Cutting and fitting | Depends on material format and construction | Depends on vinyl product and backing |
For example, a vinyl sheet product may allow a different adhesive or installation method than genuine sheet linoleum.
Therefore, check the product label before purchasing installation materials.
Types of Linoleum Flooring and Their Installation Methods
The correct method depends on whether you choose sheet linoleum, modular tiles, or a click-lock flooring system.
Sheet Linoleum Flooring
Sheet linoleum comes in rolls that cover relatively large floor areas.
It can create a continuous appearance with fewer seams than smaller tile formats. However, accurately cutting and positioning large sheets can be challenging.
Most traditional sheet linoleum products require full-spread adhesive and professional-grade rolling equipment.
Linoleum Tile Flooring
Linoleum tiles come in individual pieces that installers arrange across the floor.
They may be easier to handle than large sheets. Additionally, modular tiles can create patterns using different colors or layouts.
Many traditional linoleum tile products require adhesive.
Click-Lock Linoleum Flooring
Some linoleum flooring systems use interlocking panels or tiles designed for floating installation.
For example, certain Marmoleum Click products use a manufacturer-specific locking system.
These products have different preparation, underlayment, expansion-gap, and installation requirements from glue-down sheet linoleum.
Important: The main installation steps below focus on traditional glue-down sheet linoleum. Follow the separate product instructions when installing tiles or click-lock linoleum.
Tools and Materials Needed to Install Linoleum Flooring
Gather the tools required for your particular product before starting.
Common tools and materials include:
- Tape measure.
- Pencil or marking tool.
- Straightedge.
- Utility knife with replacement blades.
- Suitable flooring knife.
- Protective gloves.
- Safety glasses.
- Paper or other suitable template material.
- Manufacturer-approved linoleum adhesive.
- Recommended notched trowel.
- Floor roller appropriate for the product.
- Suitable floor patching material.
- Approved primer, where required.
- Cleaning equipment.
- Linoleum sheet flooring.
- Compatible transition strips and trim.
Certain installations may also require seam-cutting tools and specialized finishing equipment.
For larger sheet installations, a qualified flooring installer may be more practical than attempting the work without suitable equipment.
How to Measure a Room for Linoleum Flooring
Accurate measurements help determine the amount of material to purchase.
Before cutting any sheet, measure the room and develop a layout that accounts for roll width, seams, and irregular sections.
Step 1: Measure the Room Length
Measure the room from one end to the other.
Include the areas where the flooring will extend into suitable doorways or other floor recesses.
Step 2: Measure the Room Width
Measure the room at several points, particularly if the walls are not perfectly parallel.
Use the measurements to plan the sheet layout.
Step 3: Calculate the Floor Area
For a rectangular room, use the following formula:
A=L\times W
Where:
- A = Floor area in square feet.
- L = Room length in feet.
- W = Room width in feet.
Suppose a room measures 11 feet by 14 feet.
Substitute the dimensions:
A=11\times14=154
Answer: The room has a floor area of 154 square feet.
For rooms with several sections, calculate each section individually and combine the results.
You can use the Calculatoriam Square Footage Calculator to calculate the floor area before ordering materials.
Step 4: Plan for Cutting Waste
Sheet flooring purchases depend on more than the floor area alone.
For example, roll width, seam locations, pattern direction, and irregular room shapes can affect how much material you need.
Suppose you use a hypothetical 10% planning allowance for the 154-square-foot room.
A_p=154\times1.10
Calculate the adjusted area:
A_p=169.4
Estimated adjusted area: 169.4 square feet.
This is an area-based planning estimate, not a final roll order. Actual purchased material may be greater because linoleum sheets have fixed widths and require a suitable cutting layout.
The Calculatoriam Flooring Calculator can help estimate floor area, waste, and material costs using applicable inputs.
However, a carton-based flooring estimate does not replace sheet roll-width and seam-layout planning.
How to Prepare the Subfloor for Linoleum Flooring
Proper subfloor preparation is essential for a successful installation.
Because linoleum is a resilient material, imperfections beneath the finished surface may affect its appearance and performance.
1. Remove Unsuitable Existing Flooring
First, determine whether the existing floor covering must be removed.
Depending on its condition, an old surface may be unsuitable because of loose materials, damage, contamination, or incompatible construction.
However, do not automatically remove or sand old flooring.
Older resilient flooring and adhesives may contain asbestos. The U.S. Environmental Protection Agency advises against sanding or leveling asbestos-containing flooring and recommends qualified professionals for major repairs or removal.
If the material may contain asbestos, arrange appropriate assessment before disturbing it.
2. Clean the Subfloor
Remove loose dust, debris, and surface contaminants.
Additionally, inspect for adhesive residue or other materials that may interfere with the new flooring system.
Use cleaning and preparation methods approved for the substrate.
3. Repair Cracks and Low Spots
Check the surface for:
- Cracks.
- Raised joints.
- Low areas.
- Loose panels.
- Surface damage.
- Uneven patches.
- Moisture-related deterioration.
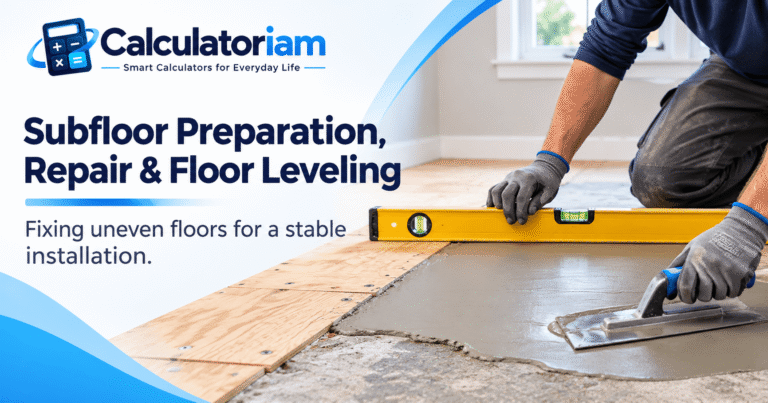
Minor defects may require a suitable patching compound.
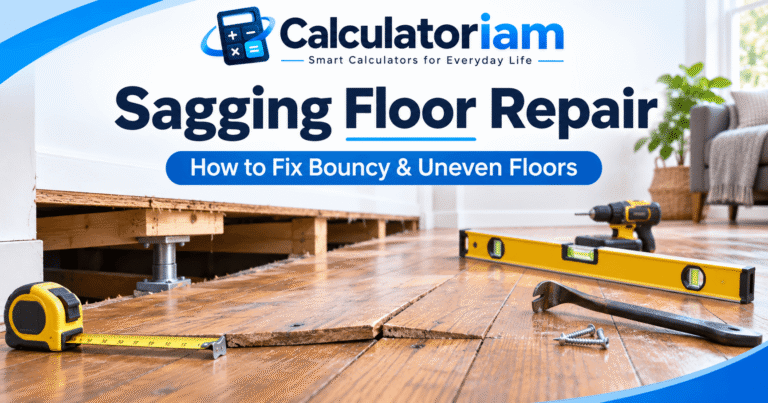
However, substantial structural movement or deteriorated subflooring must be addressed before installing new flooring.
4. Check Moisture Conditions
Concrete and wood substrates have different moisture characteristics.
Before installation, confirm that the subfloor meets the linoleum manufacturer’s requirements.
For concrete, appropriate moisture and alkalinity testing may be necessary.
For wood-based substrates, inspect for moisture damage and confirm that the floor assembly is suitable for resilient flooring.
5. Check Surface Flatness
Use a long straightedge to identify bumps and depressions.
The flooring manufacturer’s installation instructions should specify the required substrate condition.
Therefore, do not assume one flatness tolerance applies to every linoleum product.
How to Fit Lino Flooring: Step-by-Step Installation
After measuring and preparing the floor, you can begin installing compatible glue-down sheet linoleum.
The following process explains the general sequence. However, the selected manufacturer’s instructions determine the exact cutting, adhesive, rolling, and seam requirements.
Step 1: Plan the Flooring Layout
Before cutting, determine the direction in which the sheet will run.
Consider:
- Room dimensions.
- Available roll width.
- Doorway locations.
- Pattern direction.
- Number of seams.
- Wall irregularities.
- Waste material.
Where possible, position seams thoughtfully to create a neat finished appearance.
For patterned flooring, account for pattern matching before cutting.
Step 2: Condition the Linoleum Material
Linoleum should be stored and conditioned according to the product’s instructions.
Temperature, storage orientation, and conditioning requirements vary between products.
For example, rolled sheet linoleum may retain tension from being wound during manufacturing and storage.
Consequently, installers may need to handle the material according to specific relaxation and fitting procedures.
Do not assume that every linoleum product uses the same acclimatization time.
Step 3: Measure and Cut the First Sheet
Measure the required section and mark the cutting line.
Use a suitable knife and straightedge to produce accurate cuts.
Allow the fitting margins specified by the manufacturer.
Additionally, keep the material supported while cutting to avoid unnecessary damage.
Step 4: Position the Linoleum Sheet
Move the cut sheet into its intended location.
Check its orientation, position, and relationship with adjoining walls.
Next, confirm that the sheet fits correctly around doorways, corners, and fixed objects.
Do not permanently attach the flooring until you have checked the layout and necessary adjustments.
Step 5: Prepare the Adhesive
Select the adhesive approved for the specific linoleum product and substrate.
Check the manufacturer’s instructions for:
- Adhesive type.
- Trowel notch dimensions.
- Spread rate.
- Working time.
- Open time.
- Substrate preparation.
- Temperature requirements.
- Rolling requirements.
Using the wrong adhesive can affect bonding and long-term performance.
Step 6: Apply Adhesive to the Subfloor
Carefully move back the appropriate section of the sheet according to the manufacturer’s procedure.
Next, spread the adhesive using the recommended trowel.
Apply the material evenly and maintain the correct adhesive coverage.
Work within the specified working and open times.
Importantly, avoid spreading more adhesive than you can cover correctly within the manufacturer’s permitted installation window.
Step 7: Lay the Linoleum Into the Adhesive
Carefully position the sheet into the prepared adhesive.
Follow the manufacturer’s instructions for placement timing and installation technique.
As you work, avoid trapping air or creating wrinkles.
Additionally, ensure that the flooring remains correctly aligned with the planned layout.
Step 8: Roll the Installed Flooring
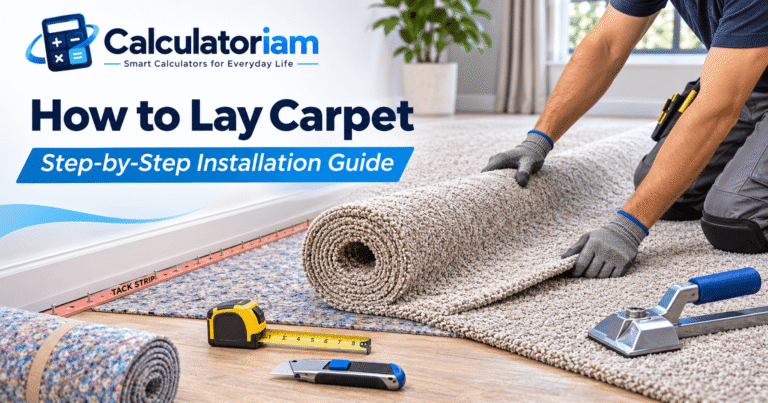
Many sheet linoleum systems require rolling with an appropriately weighted floor roller.
Rolling helps achieve suitable adhesive transfer and contact between the material and substrate.
However, the roller weight, direction, and timing vary by product.
For example, Forbo’s installation guidance specifies professional rolling procedures for Marmoleum sheet flooring.
Follow the relevant requirements rather than using an ordinary household paint roller as a substitute.
Step 9: Fit Additional Sheets and Seams
If the room requires more than one sheet, prepare the next section according to the approved seam method.
Seams require careful cutting and alignment.
For example, some professional sheet installations use an underscribed or net-fit seam.
However, the correct procedure depends on the product and manufacturer.
Do not assume that overlapping and cutting both sheets together is suitable for every linoleum system.
Step 10: Complete the Floor Edges
Finish the flooring around walls, cabinets, and doorways using the approved cutting and trimming methods.
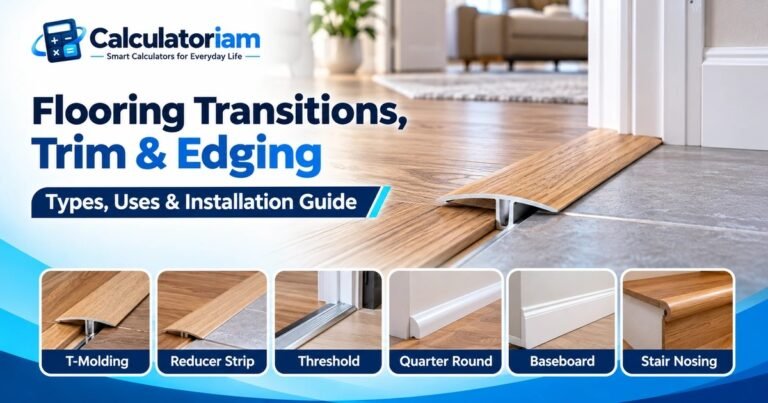
Next, install suitable transition strips or perimeter trim where required.
Avoid creating tight, uneven, or damaged edges.
Step 11: Allow the Adhesive to Cure
After installation, protect the flooring according to the adhesive and floor manufacturer’s instructions.
Restrictions may apply to:
- Foot traffic.
- Heavy furniture.
- Rolling loads.
- Wet cleaning.
- Additional finishing work.
Finally, inspect the floor once the specified installation and curing requirements have been met.
How to Install Linoleum Flooring on Concrete
Concrete can provide a suitable substrate for linoleum when it meets the flooring manufacturer’s preparation and moisture requirements.
However, concrete requires careful inspection before installation.
Step 1: Inspect the Concrete
Look for surface cracks, moisture, contamination, and uneven areas.
Additionally, examine previous coatings or adhesive residues that could interfere with bonding.
Step 2: Test Moisture Conditions
Concrete can contain moisture even when the surface appears dry.
Therefore, follow the flooring and adhesive manufacturers’ testing requirements.
Depending on the selected system, testing may include in-situ relative humidity measurements or another specified method.
Step 3: Prepare the Surface
Use compatible patching or smoothing materials where necessary.
Allow the preparation products to cure according to their instructions.
Step 4: Install the Linoleum
Apply the approved adhesive and install the sheet according to the product’s installation procedures.
Afterward, complete the required rolling, seam treatment, and finishing.
Key point: Never assume that placing a moisture-resistant flooring material over damp concrete corrects an underlying moisture problem.
How to Lay Linoleum Flooring on a Wood Subfloor
Plywood and other approved wood-based subfloors can provide suitable support for linoleum when properly prepared.
However, wood movement, panel joints, and fastener locations require attention.
Inspect the Wood Subfloor
Check for:
- Loose panels.
- Raised fasteners.
- Swollen joints.
- Moisture damage.
- Uneven surfaces.
- Soft or unstable sections.
If the subfloor is damaged, repair it before installation.
Install Suitable Underlayment Where Required
Some flooring systems require an approved underlayment over wood-based subfloors.
The correct material and installation method depend on the specific linoleum product.
Therefore, do not assume that any plywood sheet is acceptable as resilient-flooring underlayment.
Prepare the Finished Surface
Fill or smooth suitable imperfections using approved materials.
Additionally, check that fastening heads and panel joints will not affect the finished floor.
Apply the Approved Installation System
Once the substrate meets the requirements, install the linoleum using the specified adhesive or locking method.
For glue-down sheets, complete the manufacturer’s rolling and finishing procedures.
How to Fit Lino Flooring in a Bathroom
Bathroom installations require careful consideration because water can reach the flooring edges, seams, and surrounding fixtures.
Although genuine linoleum can perform in suitable interior applications, it should not be assumed to be completely waterproof.
Prepare the Bathroom Floor
Inspect the subfloor for water damage, especially near:
- Toilets.
- Bathtubs.
- Showers.
- Sinks.
- Plumbing connections.
Correct any leaks before installing new flooring.
Measure Around Fixtures
Bathroom floors often contain irregular shapes and fixed objects.
For this reason, create a careful cutting plan before positioning the linoleum.
Where appropriate, a template can help transfer the room’s dimensions and fixture outlines to the flooring material.
Select Suitable Edge and Seam Details
Follow the manufacturer’s requirements for bathroom applications.
For example, particular seams or perimeter conditions may require specialized finishing.
In areas with significant water exposure, a different flooring system or additional moisture-control measures may be more appropriate.
Important: New linoleum flooring is not a substitute for required bathroom waterproofing.
How to Lay Linoleum Flooring in a Kitchen
Kitchens are common locations for resilient flooring because the surface is relatively easy to maintain.
However, careful subfloor preparation and accurate fitting remain essential.
Prepare the Kitchen Layout
Measure the room and identify fixed cabinets, appliances, and doorways.
Additionally, determine whether the floor will extend beneath appliances or terminate at particular cabinet edges.
Check the Subfloor
Inspect for damage near sinks, dishwashers, and refrigerators.
If water damage is present, repair the affected area before installation.
Plan the Sheet Position
Consider the direction of the flooring pattern and the location of any seams.
Where possible, avoid unnecessary cuts that would create difficult finishing conditions.
Finish Around Appliances
Follow the flooring manufacturer’s guidance for appliance loading, movement, protection, and required curing.
Avoid moving heavy appliances over newly installed flooring before it is ready.
How to Cut Linoleum Flooring Around Corners and Doorways
Accurate cutting is important because poorly fitted material can create visible gaps or damaged edges.
Cutting Around Corners
First, measure the corner carefully and identify the required cutting direction.
For irregular shapes, use a suitable template.
Next, transfer the measurements onto the flooring and cut with an appropriate sharp knife.
Check the fit before final installation.
Cutting Around Door Frames
Doorways require careful measurement because the flooring may meet a different surface or a transition strip.
For example, you may need to account for:
- Door jambs.
- Door casing.
- Thresholds.
- Adjacent flooring height.
- Transition profiles.
Choose a compatible finishing method and confirm door clearance.
Cutting Around Pipes
Pipe penetrations require accurate measurements and suitable finishing details.
The correct method depends on the pipe location, floor construction, and product instructions.
Avoid cutting excessively large openings that leave visible gaps.
How to Install Linoleum Tiles and Click-Lock Flooring
Not every linoleum product comes in a traditional sheet format.
Some products are available as modular tiles or interlocking panels.
Glue-Down Linoleum Tiles
Traditional linoleum tiles generally require suitable adhesive and a prepared substrate.
A typical installation sequence includes:
- Measure the floor.
- Plan the tile layout.
- Prepare the substrate.
- Apply the approved adhesive.
- Position the tiles according to the layout.
- Complete the manufacturer’s rolling requirements.
- Protect the floor during curing.
The precise installation method depends on the tile manufacturer.
Click-Lock Linoleum Flooring
Click-lock linoleum panels use a floating installation system.
For example, some Marmoleum Click products are designed to connect mechanically without adhesive between the panels and subfloor.
However, their installation may require a suitable underlayment, vapor-control layer, and perimeter expansion clearance.
Follow the specific product’s installation guide.
Common Linoleum Flooring Installation Mistakes
Several mistakes can affect the appearance and performance of the finished floor.
| Installation Mistake | Possible Problem | Better Approach |
|---|---|---|
| Installing over an uneven subfloor | Visible imperfections and poor contact | Prepare the substrate first |
| Ignoring concrete moisture | Adhesive or flooring problems | Complete required testing |
| Choosing the wrong adhesive | Poor bonding | Use the approved adhesive |
| Cutting before planning the layout | Excess waste or difficult seams | Plan sheet direction and dimensions |
| Ignoring roll conditioning | Material movement or fitting difficulties | Follow storage and conditioning instructions |
| Inadequate rolling | Poor adhesive transfer | Use the specified roller |
| Poor seam preparation | Visible or weak seams | Follow the approved seam method |
| Moving heavy furniture too early | Flooring damage or movement | Respect curing restrictions |
| Treating linoleum as vinyl | Incorrect installation method | Confirm the exact product |
| Ignoring old flooring hazards | Potential hazardous-material exposure | Assess suspicious materials before disturbance |
Additionally, do not use a generic online installation method when it conflicts with the product manufacturer’s requirements.
How Long Does Linoleum Flooring Installation Take?
Installation time depends on the size and layout of the room, subfloor condition, product format, and adhesive requirements.
For example, a small room with a suitable subfloor may involve relatively little preparation.
However, larger rooms with several seams and irregular corners may require significantly more work.
The overall project can also include time for:
- Removing existing flooring.
- Repairing the subfloor.
- Moisture testing.
- Material conditioning.
- Cutting and fitting.
- Adhesive application.
- Rolling and seam finishing.
- Curing.
Therefore, plan the project according to the product’s requirements rather than assuming the floor can immediately receive heavy traffic after installation.
How to Clean and Maintain Linoleum Flooring
Proper maintenance helps preserve the appearance and performance of linoleum flooring.
Remove Loose Dirt
Sweep or vacuum regularly using a suitable floor attachment.
This helps remove grit that could scratch the surface.
Clean With Approved Products
Use a cleaning method and product recommended by the flooring manufacturer.
Avoid harsh or incompatible chemicals.
Control Moisture Exposure
Clean up spills promptly.
Additionally, do not allow water to remain around seams, edges, or damaged areas.
Protect the Floor From Furniture Damage
Use suitable protective pads beneath furniture legs.
When moving heavy objects, follow the manufacturer’s recommendations to prevent gouges or other damage.
Follow Product-Specific Maintenance Instructions
Some linoleum products have factory-applied surface treatments and specific cleaning requirements.
Consequently, do not assume that every linoleum floor requires waxing or periodic polishing.
Frequently Asked Questions About Linoleum Flooring Installation
How do you fit lino flooring?
First, prepare a clean, smooth, and suitable subfloor. Next, measure the room, plan the sheet layout, and cut the material according to the manufacturer’s instructions. For traditional glue-down linoleum, apply the approved adhesive, position the sheet, roll it correctly, and complete the seams and edges.
Is linoleum flooring easy to install?
The difficulty depends on the flooring format. Some click-lock products are designed for simpler installation, while large glue-down sheets require accurate cutting, adhesive control, and specialist rolling equipment.
Can you install linoleum flooring yourself?
Some experienced DIY homeowners can install suitable linoleum products. However, professional installation is often preferable for large sheet installations, complicated layouts, and specialist seam finishing.
Can you install linoleum over concrete?
Yes, if the concrete meets the manufacturer’s substrate, moisture, and preparation requirements. In particular, moisture testing and surface preparation are important before adhesive application.
Can you lay linoleum over plywood?
Some linoleum flooring systems can be installed over approved plywood or wood-based underlayment. However, the exact construction, surface preparation, and fastening requirements must match the manufacturer’s instructions.
Does linoleum flooring need glue?
Traditional sheet linoleum and many modular tiles require adhesive. However, certain click-lock linoleum products use floating installation systems.
Can you install new flooring over old linoleum?
Sometimes, depending on the condition of the existing floor and the requirements of the new product. However, do not assume the old flooring is a suitable substrate. Investigate its condition and any possible hazardous materials before disturbing it.
How do you fit lino flooring around a toilet?
Carefully measure the fixture and surrounding floor area. Depending on the installation, removing and properly reinstalling the toilet may be preferable to cutting around its base. Plumbing connections and required bathroom finishing details must be handled correctly.
Can linoleum flooring be used in a bathroom?
Some linoleum products may be suitable for bathroom applications under specific conditions. However, seams, perimeter details, and water exposure require careful consideration. Always confirm the manufacturer’s approval for the intended use.
How much linoleum flooring should I buy?
Measure the floor area, then plan the required sheets according to the available roll width, room shape, pattern direction, and seam positions. Include an appropriate cutting allowance rather than relying only on the net square footage.
Can linoleum flooring be installed without seams?
A room may be covered with one sheet if its dimensions and layout fit the selected roll width. However, wider or irregular rooms may require multiple sheets and properly finished seams.
What is the difference between sheet linoleum and click-lock linoleum?
Sheet linoleum generally uses adhesive and professional rolling procedures. Click-lock linoleum consists of interlocking panels installed using a manufacturer-specific floating floor system.
Final Thoughts
Learning how to fit lino flooring involves more than cutting material to match the room dimensions. Successful installation depends on choosing the correct linoleum product, preparing the subfloor, planning the layout, and following the approved adhesive or locking method.
For traditional sheet linoleum, accurate fitting and professional-grade rolling are particularly important. Meanwhile, modular tiles and click-lock products use different installation procedures.
Before starting, check the floor’s condition, measure carefully, and review the manufacturer’s requirements for moisture, adhesive, seams, and curing.
For material planning, Calculatoriam’s Flooring Calculator and Square Footage Calculator can help establish the floor area and a starting quantity estimate.
Ultimately, proper preparation and careful installation provide the best foundation for a clean, durable linoleum floor.